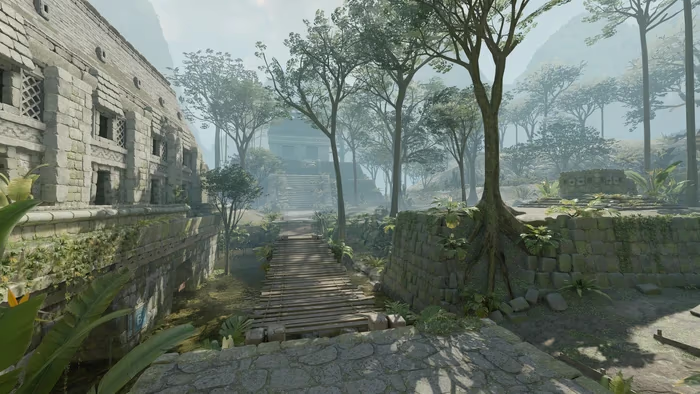
Banned
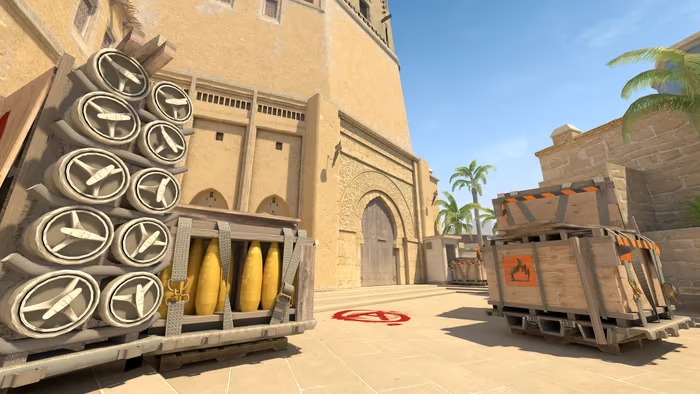
team_-Denjiro
team_G-O-A-T
Winner
Banned
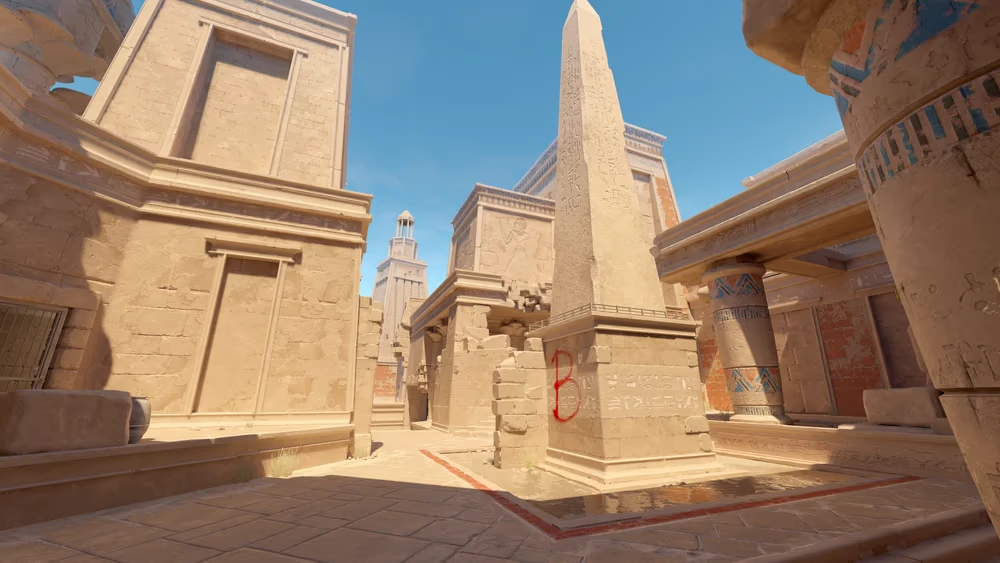
Banned
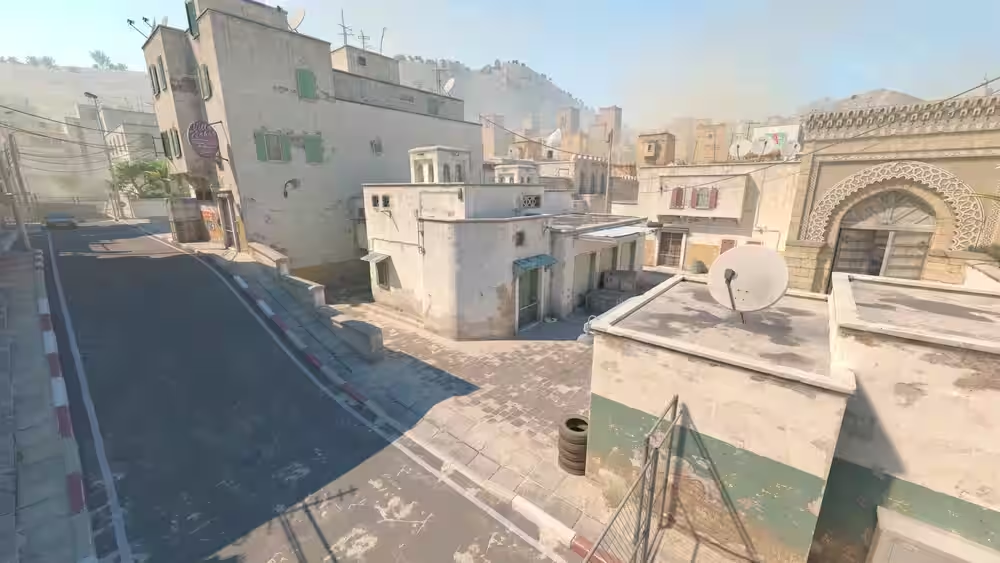
Banned
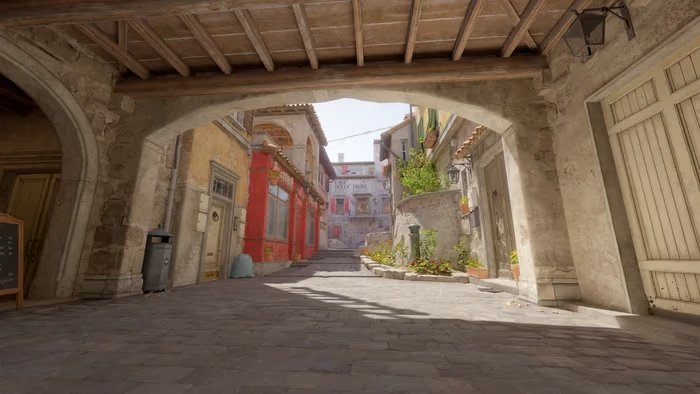
Banned
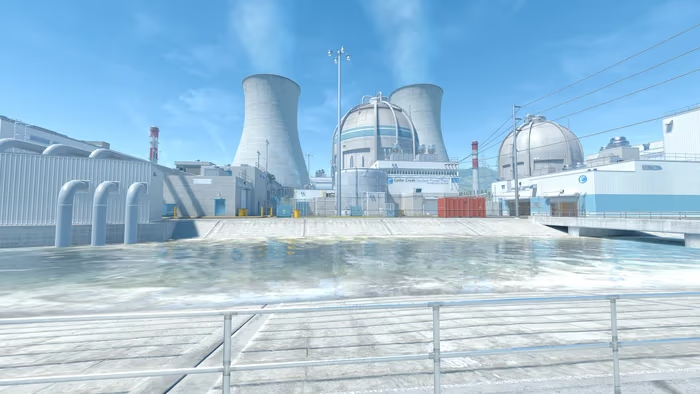
Banned
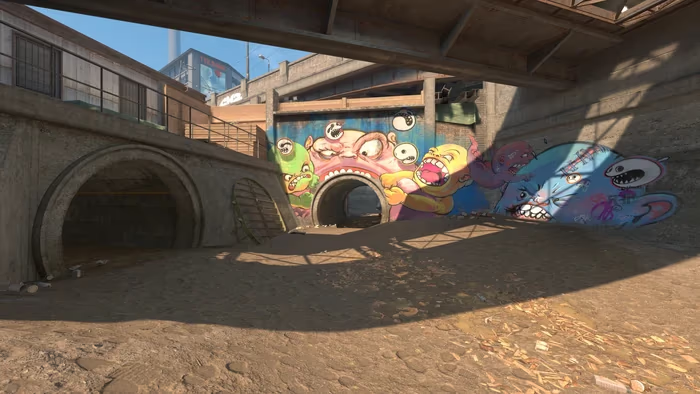
Banned
Picked
Site control
For each team: where they attacked from on T, and which sites they defended on CT — without switching sides.
Takeaways
team_G-O-A-T planted 100% of the time on B site (4 plants).
Was B site the plan, or did the other site keep saying “not today”?
Counter-strafing still wins first bullets. Release the old key before tapping the opposite key.
Plant phases
Who controls each round phase: Pre-Plant impact is creating openings before the bomb goes down, Post-Plant is converting with clean holds or retakes, and No-Plant is shutting rounds down before a plant is possible.
Kills per sampled round
Each gate compares KPR in that segment, normalized by each team’s eligible rounds. Pre-plant and post-plant split the same planted rounds around the plant tick; they are not separate conversion rates.
team_G-O-A-T
2.87 KPR
43 kills / 15 sampled rounds · 23 deaths · 15 assists
1.87 K/D
team_-Denjiro
1.53 KPR
23 kills / 15 sampled rounds · 44 deaths · 8 assists
0.52 K/D
All side
Post-Plant Performance
Performance in rounds after the bomb is planted.
| # | Player | K | D | A | Record | K/D | Win % |
|---|---|---|---|---|---|---|---|
1 |  Rustt 10 rds 67% | 13 | 3 | 0 | 8/10 | 4.33 | 80% |
2 |  B1AL0 15 rds 100% | 9 | 6 | 4 | 13/15 | 1.50 | 87% |
3 |  -RpKK 12 rds 80% | 7 | 4 | 4 | 10/12 | 1.75 | 83% |
4 |  G-O-A-T 11 rds 73% | 9 | 6 | 3 | 9/11 | 1.50 | 82% |
5 |  halfcastee 12 rds 80% | 5 | 4 | 3 | 10/12 | 1.25 | 83% |
| # | Player | K | D | A | Record | K/D | Win % |
|---|---|---|---|---|---|---|---|
1 | B1AL0 15 rds 100% | 8 | 0 | 1 | 13/15 | 8.00 | 87% |
2 | G-O-A-T 15 rds 100% | 6 | 4 | 4 | 13/15 | 1.50 | 87% |
3 | -RpKK 15 rds 100% | 7 | 3 | 0 | 13/15 | 2.33 | 87% |
4 | Rustt 15 rds 100% | 4 | 5 | 3 | 13/15 | 0.80 | 87% |
5 | halfcastee 15 rds 100% | 2 | 3 | 1 | 13/15 | 0.67 | 87% |
| # | Player | K | D | A | Record | K/D | Win % |
|---|---|---|---|---|---|---|---|
1 | Rustt 0 rds 0% | 0 | 0 | 0 | 0/0 | 0.00 | 0% |
2 | G-O-A-T 0 rds 0% | 0 | 0 | 0 | 0/0 | 0.00 | 0% |
3 | B1AL0 0 rds 0% | 0 | 0 | 0 | 0/0 | 0.00 | 0% |
4 | halfcastee 0 rds 0% | 0 | 0 | 0 | 0/0 | 0.00 | 0% |
5 | -RpKK 0 rds 0% | 0 | 0 | 0 | 0/0 | 0.00 | 0% |
All side
Post-Plant Performance
Performance in rounds after the bomb is planted.
| # | Player | K | D | A | Record | K/D | Win % |
|---|---|---|---|---|---|---|---|
1 |  greesyX 10 rds 67% | 7 | 9 | 2 | 2/10 | 0.78 | 20% |
2 |  Ramsess1989 9 rds 60% | 7 | 7 | 1 | 2/9 | 1.00 | 22% |
3 |  Wojtas59 10 rds 67% | 4 | 10 | 3 | 2/10 | 0.40 | 20% |
4 |  -Denjiro 10 rds 67% | 4 | 10 | 2 | 2/10 | 0.40 | 20% |
5 | O OKEKU 9 rds 60% | 1 | 8 | 0 | 2/9 | 0.13 | 22% |
| # | Player | K | D | A | Record | K/D | Win % |
|---|---|---|---|---|---|---|---|
1 | greesyX 15 rds 100% | 4 | 5 | 1 | 2/15 | 0.80 | 13% |
2 | Ramsess1989 15 rds 100% | 3 | 6 | 1 | 2/15 | 0.50 | 13% |
3 | Wojtas59 15 rds 100% | 2 | 5 | 1 | 2/15 | 0.40 | 13% |
4 | -Denjiro 15 rds 100% | 3 | 5 | 0 | 2/15 | 0.60 | 13% |
5 | O OKEKU 15 rds 100% | 3 | 6 | 0 | 2/15 | 0.50 | 13% |
| # | Player | K | D | A | Record | K/D | Win % |
|---|---|---|---|---|---|---|---|
1 | O OKEKU 0 rds 0% | 0 | 0 | 0 | 0/0 | 0.00 | 0% |
2 | -Denjiro 0 rds 0% | 0 | 0 | 0 | 0/0 | 0.00 | 0% |
3 | Ramsess1989 0 rds 0% | 0 | 0 | 0 | 0/0 | 0.00 | 0% |
4 | greesyX 0 rds 0% | 0 | 0 | 0 | 0/0 | 0.00 | 0% |
5 | Wojtas59 0 rds 0% | 0 | 0 | 0 | 0/0 | 0.00 | 0% |
Takeaways
B1AL0 contributed in every plant phase, with 9 kills across 15 tracked rounds.
Was B1AL0 the team’s problem-solver, or simply always near the action?
Rustt led post-plants: 13 kills and a 80% round win rate.
Were Rustt’s post-plant positions repeatable, or did they win on timing?